You’re on the look for that perfect, original photo frame but still haven’t fount it yet?! This DIY string and nail heart is one of those original decor projects that was missing from your living room. It will look amazing even on your bedroom wall, and you will have the most original photo frame ever seen. Make this cute DIY heart out of string, nails and wood and your kids will love giving you a hand in this cute little project. You can give them also as gifts, but let’s face it! Why should anyone else have something original and unique like this DIY idea?
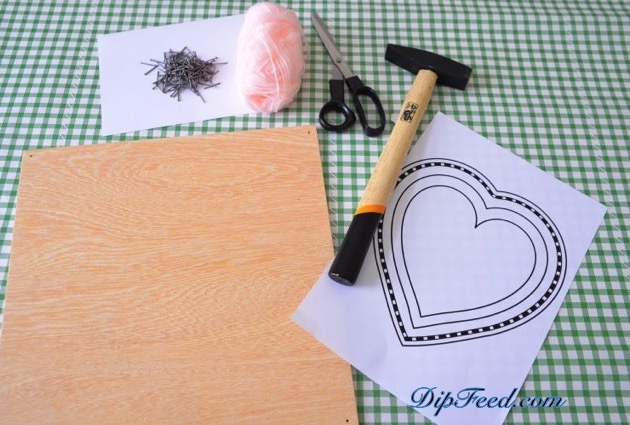
Gather the followings: a wooden board, paper templates of a heart, colorful string or yarn (I used pink yarn), nails, a hammer, a pair of scissors and your baby’s photo. I’ve made a paper template with different heart shapes to see which one fits my wooden board. Also, you can also use your wedding photo or any other photo you love.
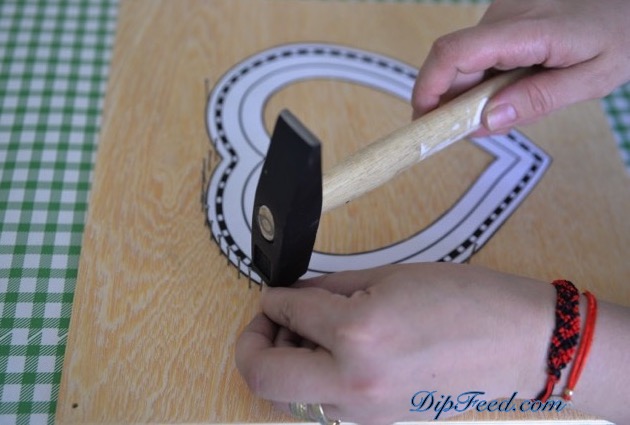
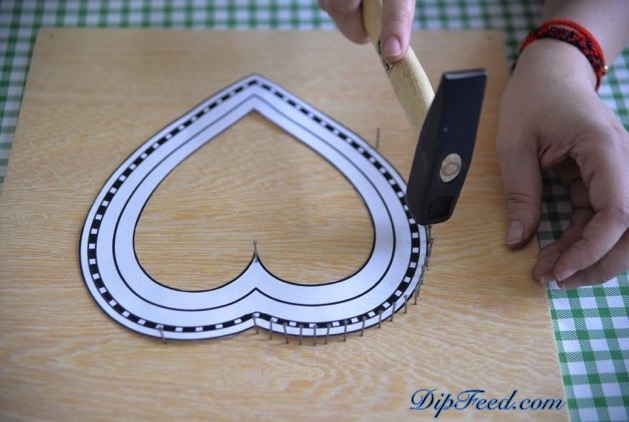
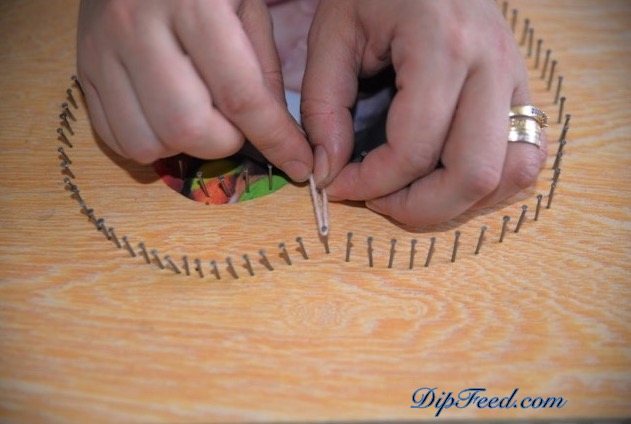
Cut out the heart template with the scissors or a cutting pen and add the heart template on the wooden board. You can stick the heart with little pieces of adhesive tape to avoid from moving. Hammer the nails around the outline of the heart. Leave around 1 to 3 mm space between each nail.
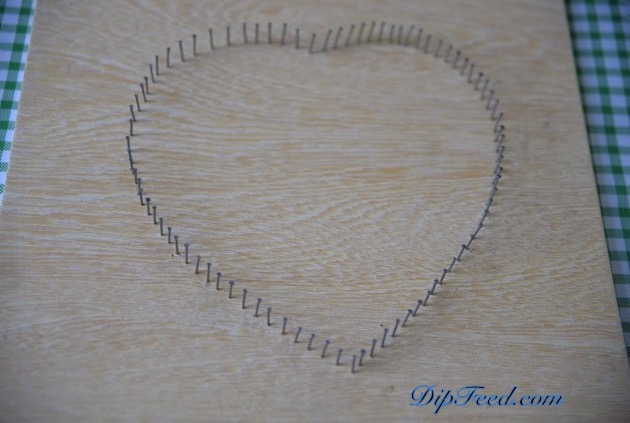
After you’ve finished nailing the heart, remove the heart template from the wooden board. Your board will look something like this:
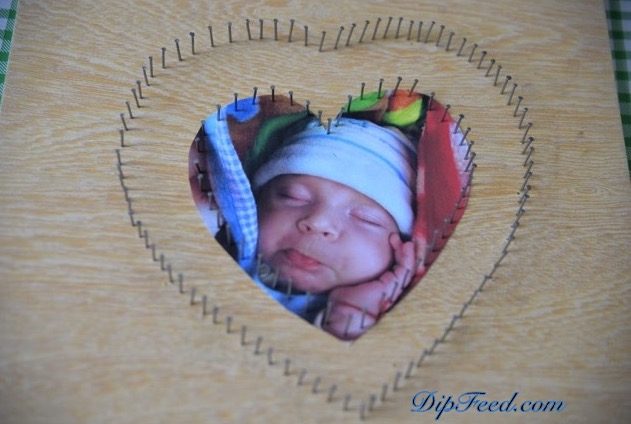
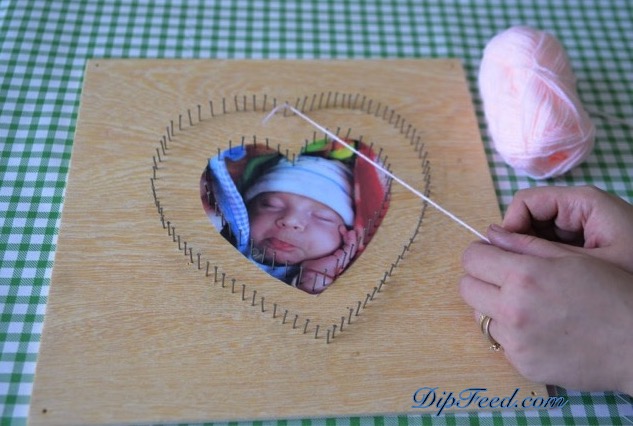
Take your favorite photo and with the pair of scissors cut it into a smaller heart. Place the heart-shaped photo in the middle of the nail heart. Add nails around the heart-shaped photo.
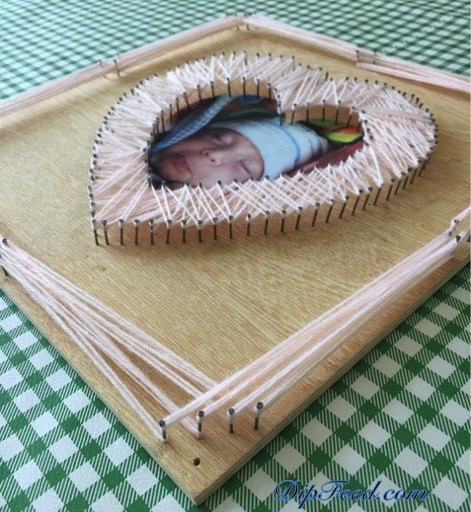
Take your string or yarn and tie a knot at the top of the heart. Start stringing the yarn over the nails of the heart. A nail from the big heart, a nail from the small heart, a nail from the big heart, a nail from the small heart. You got the idea, right?
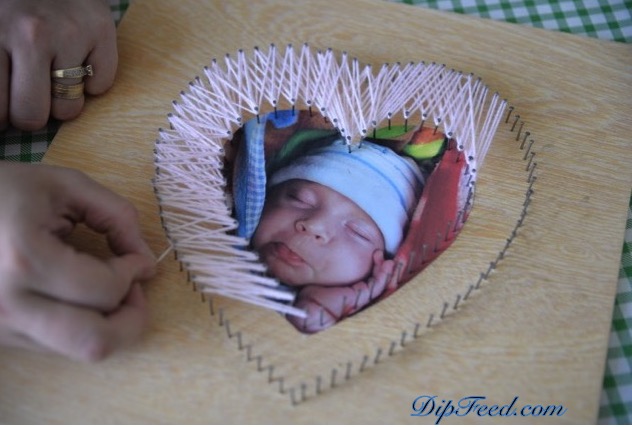
Keep stringing the yarn or string until you go all over the nails. After you are all finished, tie the end of your yarn to a nail, make a knot and trim with the scissors the excess.
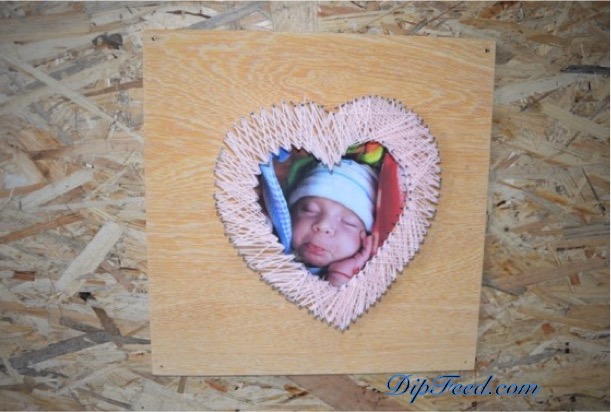
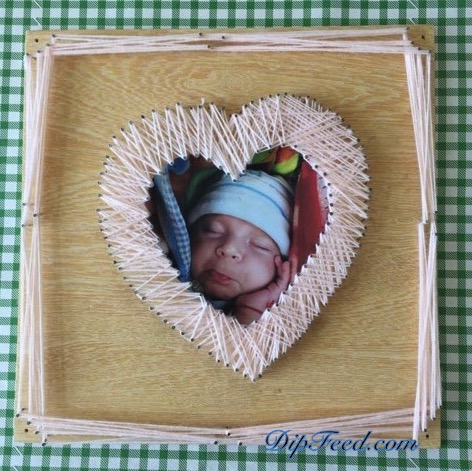
Because I didn’t want my photo frame to look so “empty” on the sides, I added some string here also. I used four nails for the fourth corners of the wooden board and their nails for the middle of the side of the board.
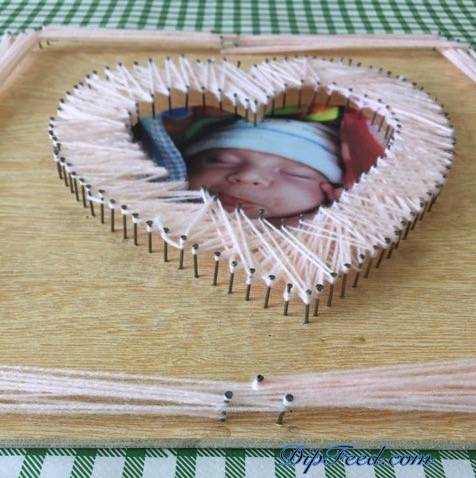
My unique photo frame is all done. Does it look cute?!