A wooden shelf is not just a functional piece but also a great way to add character to any room. With a few tools and some simple steps, you can build a beautiful and sturdy shelf at home. Here’s a detailed guide to help you create your own DIY wooden shelf.
Materials You Will Need:
- Wooden planks (approximately 60 cm x 20 cm for each shelf).
- Metal brackets (2 for each shelf).
- Screws for the brackets.
- Wall anchors (if the wall is concrete or brick).
- Drill or electric screwdriver.
- Sandpaper (medium to fine grit).
- Paint, varnish, or wood oil for finishing (optional).
- Measuring tape and pencil.
- Spirit level.
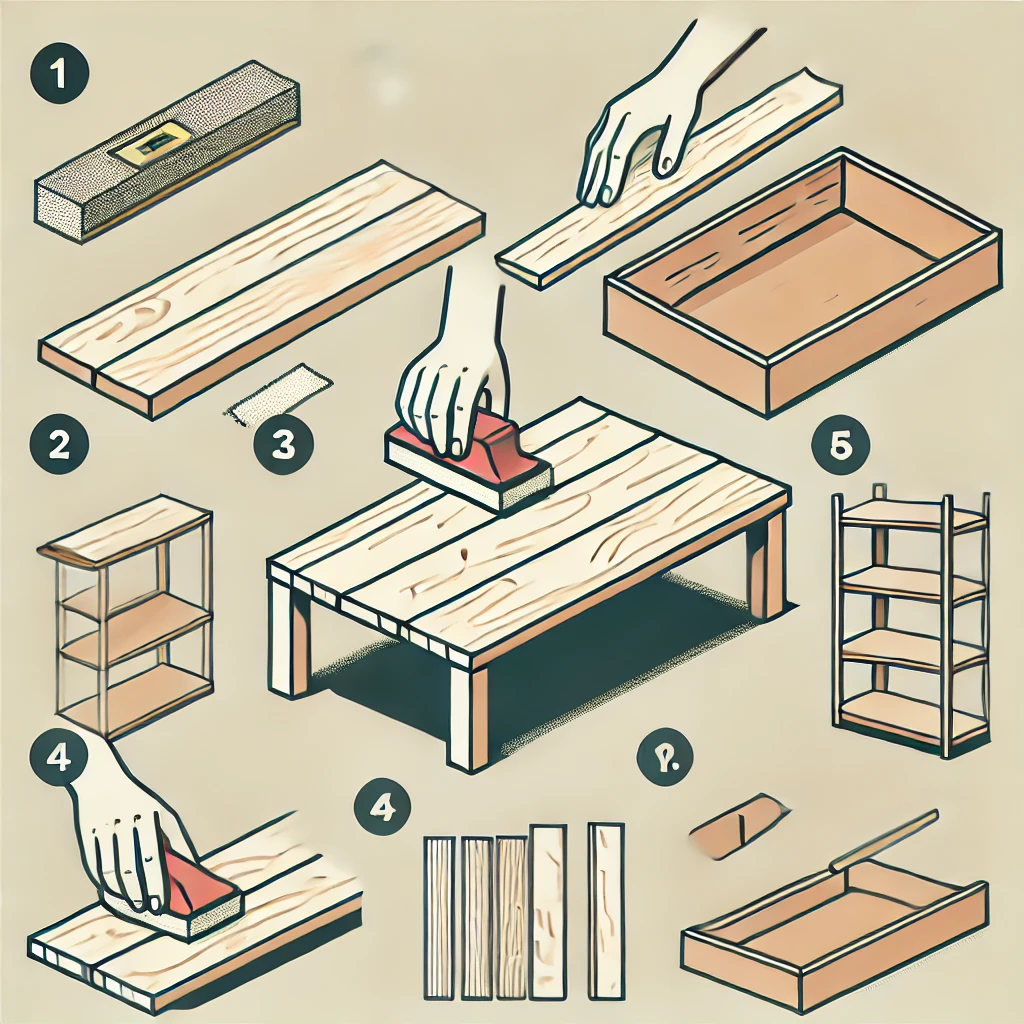
Step 1: Prepare the Wooden Planks
- Sand each wooden plank thoroughly using sandpaper to remove rough edges and create a smooth surface.
- If desired, apply paint, varnish, or wood oil to protect the wood and enhance its appearance. Allow it to dry completely.
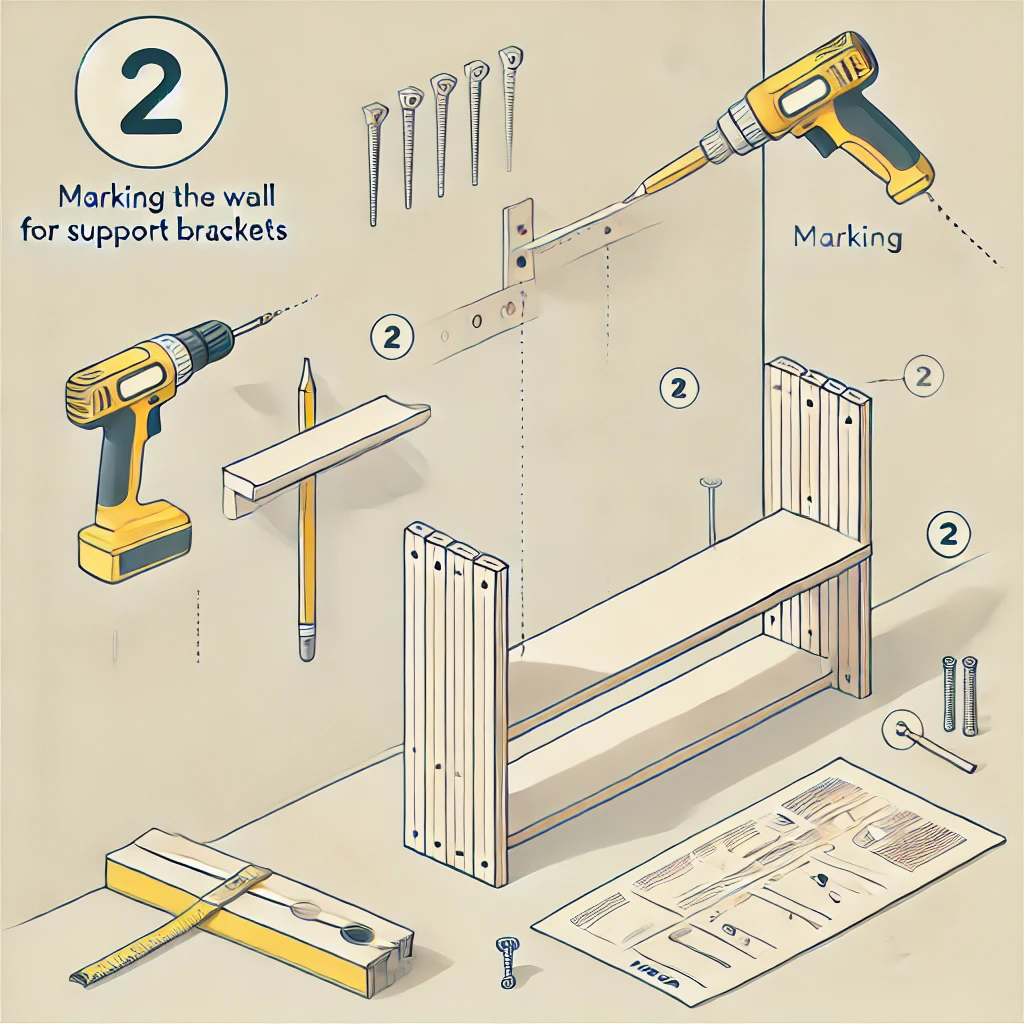
Step 2: Measure and Mark the Wall
- Use a measuring tape and pencil to mark where the brackets will be installed. Ensure the marks are level by using a spirit level.
- Double-check the measurements to ensure the brackets will align properly.
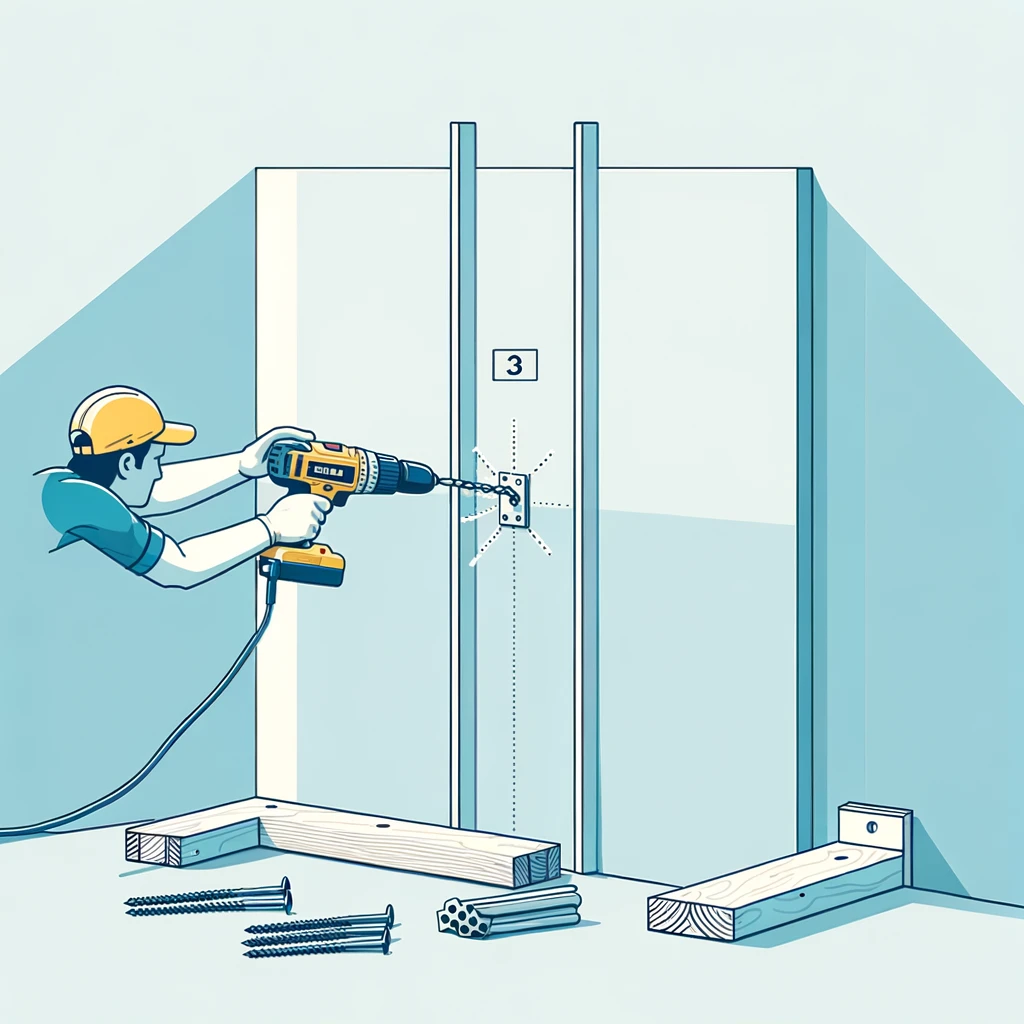
Step 3: Install the Brackets
- Drill holes into the wall at the marked points.
- Insert wall anchors if necessary.
- Secure the brackets to the wall with screws, ensuring they are firmly attached.
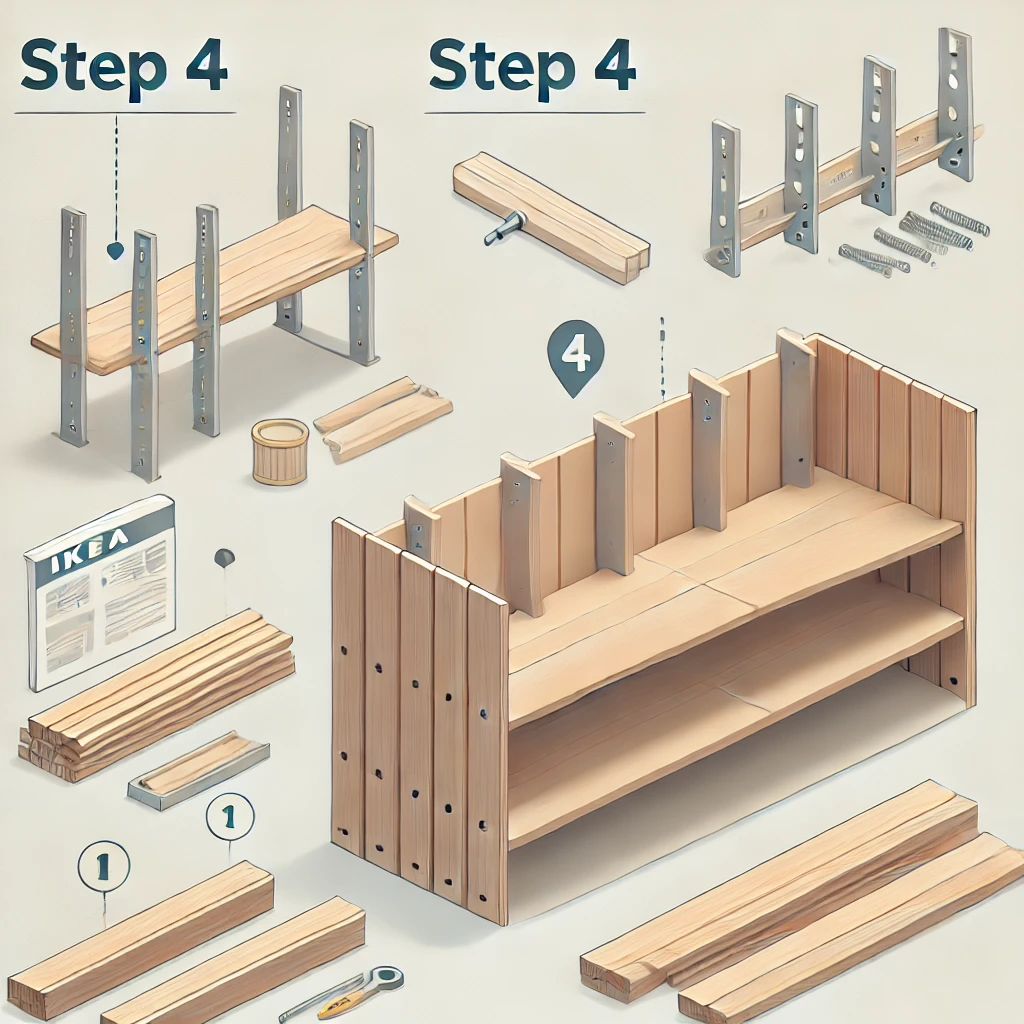
This step-by-step illustration shows how to position and secure wooden planks onto the installed brackets for a sturdy and functional shelf. Step 4: Place the Wooden Planks
- Position the wooden planks onto the installed brackets.
- Fix the planks to the brackets using screws if the brackets allow for it, or leave them unfastened for a more flexible setup.
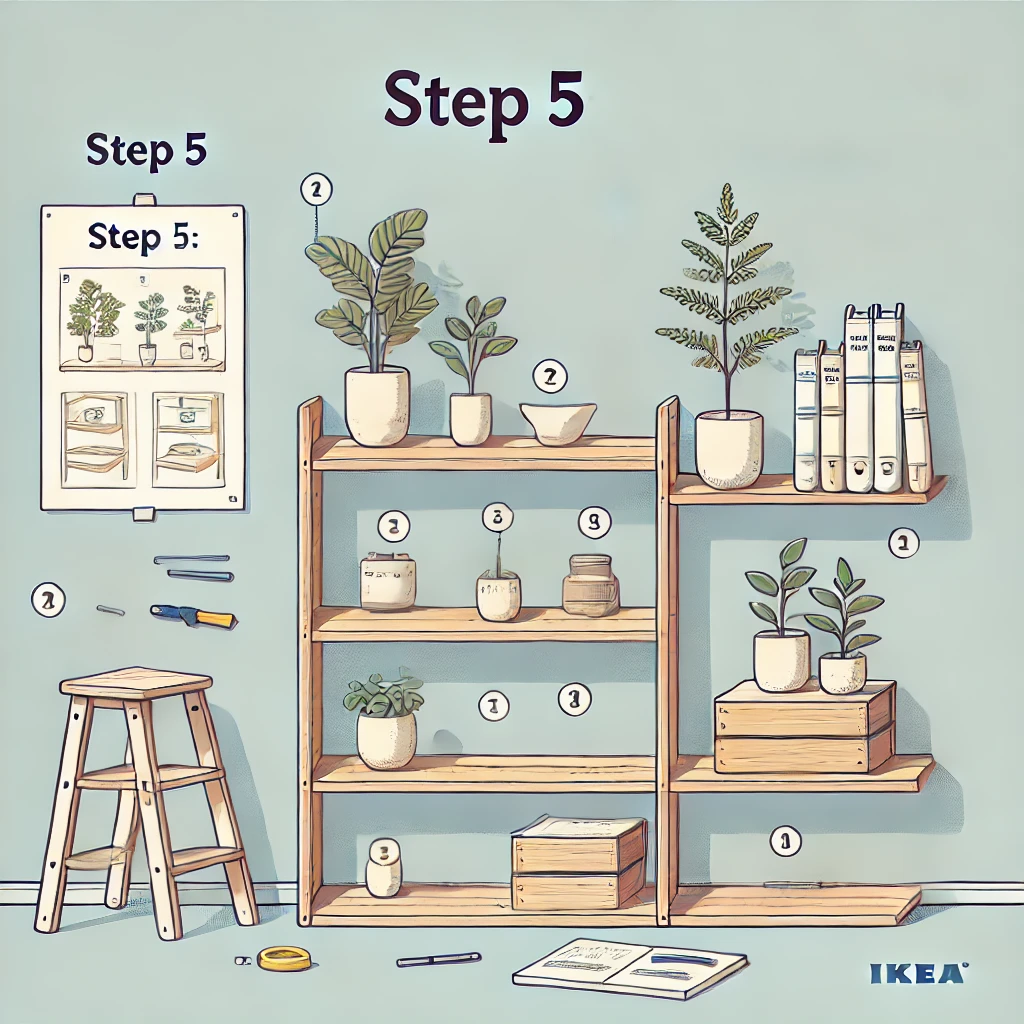
Step 5: Decorate Your Shelf
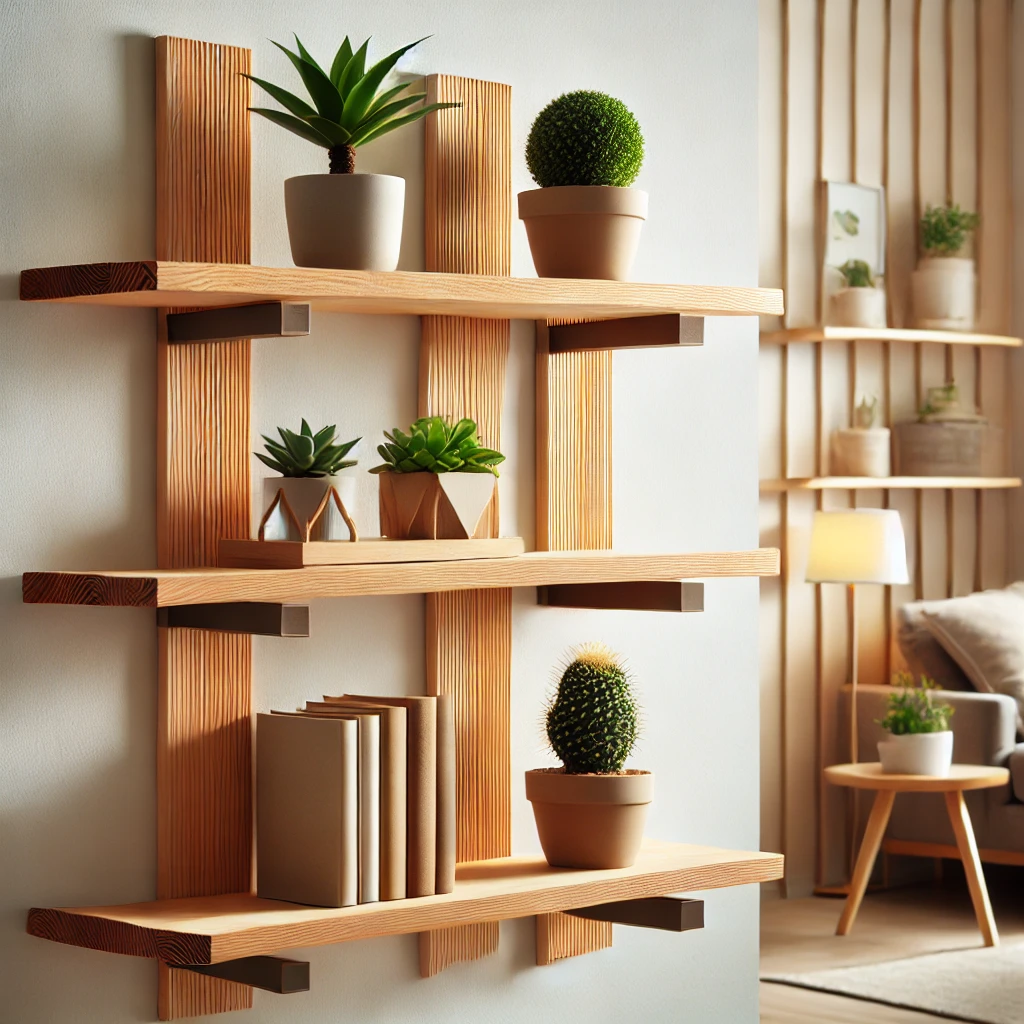
- Arrange decorative items such as small potted plants, books, and framed photos on the shelf.
- Keep the decor balanced and uncluttered for a visually pleasing result.
Pro Tips for Success
- Choose quality wood: Opt for durable wood like pine or oak to ensure the shelf’s longevity.
- Test the stability: Before placing heavy items, ensure the brackets and planks are securely fastened.
- Customize the size: Adjust the dimensions of the planks and brackets based on your space and storage needs.
-
Building a DIY wooden shelf is a rewarding project that combines functionality with creativity. Whether you need extra storage or want to enhance your room’s aesthetics, this simple project is a great way to get started. Give it a try and enjoy the satisfaction of creating something with your own hands!
Let us know in the comments how your DIY shelf turned out or share your tips for other readers!
